
Compositing Academy Start here

Lighting Integration Mastery

Professional CG Compositing Techniques

What This Guide Is About

This page includes 10 principles of light that are useful for CG-On-Live-Action compositing, as well as compositing greenscreen footage over virtual scenes.

High-end Feature Film Compositors need to understand how to take lighting from 70% to 100% refined - and these small adjustments are the tricky part to dial in. This list can help with a few principles and methods that appear on a variety of shots, so if you're ever stuck on a shot, come back and see if one of these might help.

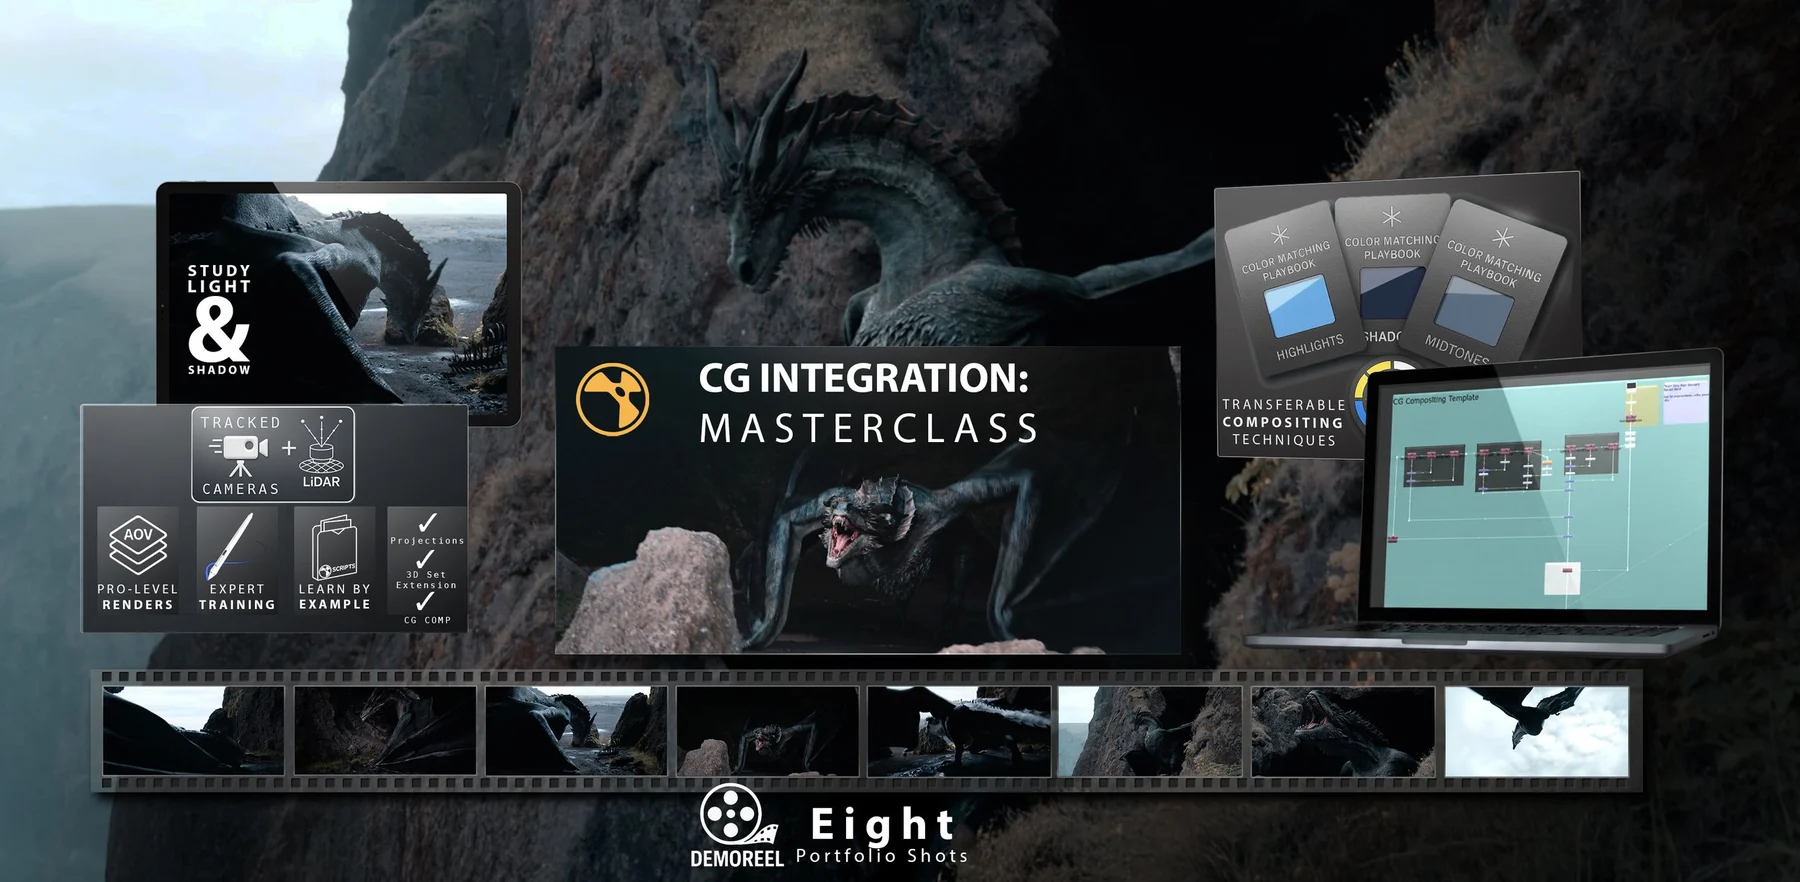
If you want to put these principles into practice, check out our CG Integration Masterclass, and start building an epic portfolio.

Light Direction
Section 01

Light Direction

Where is the source? Match the dominant light direction of the plate (sun, key light, lamp, etc.).
Clues to Look For
Cast shadows Highlights on shiny objects Eye lights in actors Reflections
Critical: Even a slight mismatch in direction can make the comp feel fake.
Pro Tip: Sometimes a plate can have a slightly different direction to the light, and re-lighting, or adding small hints of light direction, can help.
โšก Quick Reads
Cast shadows indicate angle and height of the key.
Specular hits on shiny objects point straight back to the source.
Eye lights and tiny reflections reveal practical placement.
โœ” Micro-Checklist
Consistent left/right bias across all CG pieces
Match elevation (low sidelight vs. high noon)
Adding a real person to a virtual scene: Can you add hints of light direction to marry the two elements together? (Directional Gradient Haze, Directional Spec Hits?)
Adding a CG Object to a real scene: Do you need to re-light with normals to add some slight surface light directionality to help it match? Do you need to add more specular hits / breakup to hint directionality?
โš  Don't
โœ• Rely on grading to fake direction; place the light correctly first.
โœ• Ignore tiny plate cues like catchlights and chrome props.

Shadow Quality
Section 02

Shadow Quality & Softness

Match the penumbra (soft edge width) of shadows in the plate. Hard vs. soft shadows is one of the biggest giveaways.
Light Size
  • Smaller lights (like the sun, a pin point light) produce very hard shadows
  • Larger more diffused lights (like light passing through clouds, or a diffused material) produce softer shadows
Distance of Object to Cast Surface
An object further away from the object it casts onto, casts a softer shadow. This relationship is crucial for believable integration.
โš  Remember: There are two main factors to consider about shadow softness. Both must be matched correctly for photorealistic results.
Light Intensity
Section 03

Light Intensity & Ratio

Compare how bright the key light is versus the fill light (shadow side). Real scenes have contrast ratios that must be matched.
Sunny exteriors: Deep contrast with strong directional light and dark shadows.
Interiors: Often have more balanced fill light and softer contrast ratios.
Match that ratio: Adjust your CG/inserted elements to match the plate's contrast.
Adjust lighting passes: Use your lighting passes to match real footage intensity values.
โšก Quick Reads
Sample real values from the brightest part in the plate for reference.
Different materials reflect differently, so intensities may vary.
Adjust lighting passes to match real footage intensity ratios.
Pro Tip: If you're unsure about the light intensity value, sample a real value (for example, the brightest part in the plate). Be careful to remember that different materials reflect differently, so intensities may vary.
Color Temperature
Section 04

Color Temperature & Tint

Sunlight tends to be warm at golden hour, neutral midday, blue at dusk. Artificial sources have their own tints.
Natural Light
  • Golden hour: Warm orange/amber tones
  • Midday: Neutral to slightly cool
  • Dusk/Dawn: Blue hour tints
  • Overcast: Cool, diffused light
Artificial Sources
  • Fluorescent: Green shift
  • Tungsten: Orange/warm
  • Neon: Saturated colors
โš  Note: Be careful to consider the Camera's white balance and how it's affecting the color of the light. A pure white light might appear colored if the white balance of the camera is not set to a neutral color.
Shots across sequences may have slightly different white balances, or even the scene lighting may have slightly changed, which is where applying a Neutral Grade can help to keep things consistent.
โœ” Micro-Checklist
Use the plate's cues to tint your CG lights and reflections
Consider white balance when matching colors
Apply Neutral Grade for consistency across sequences
Light Falloff
Section 05

Falloff & Distance Behavior

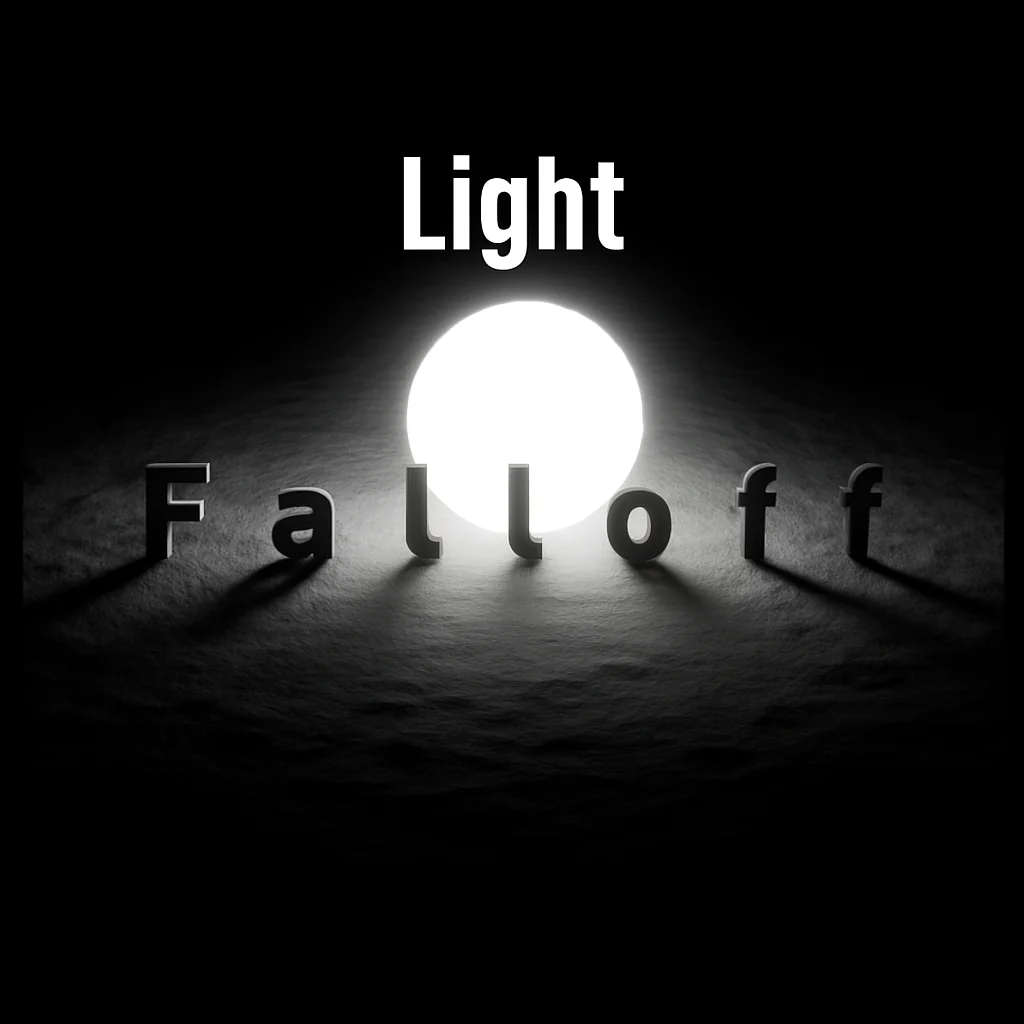
Real lights obey inverse square falloff โ€” they get exponentially weaker with distance. This physical behavior must be matched in your comp.
Local falloff: Check whether the plate has strong local falloff
Glow: Glow also has this exponential behavior.
Adjust CG decay: Your CG lighting decay must blend naturally with the plate. Tools like Exponential Glow, or Quadratic LumaKey (Comp Academy), can help map values to this type of falloff.
If you're rotoscoping fake light interaction, it must also follow this principle. Distance = dimmer, always.
Reflections & Specularity
Section 06

Reflections & Specularity

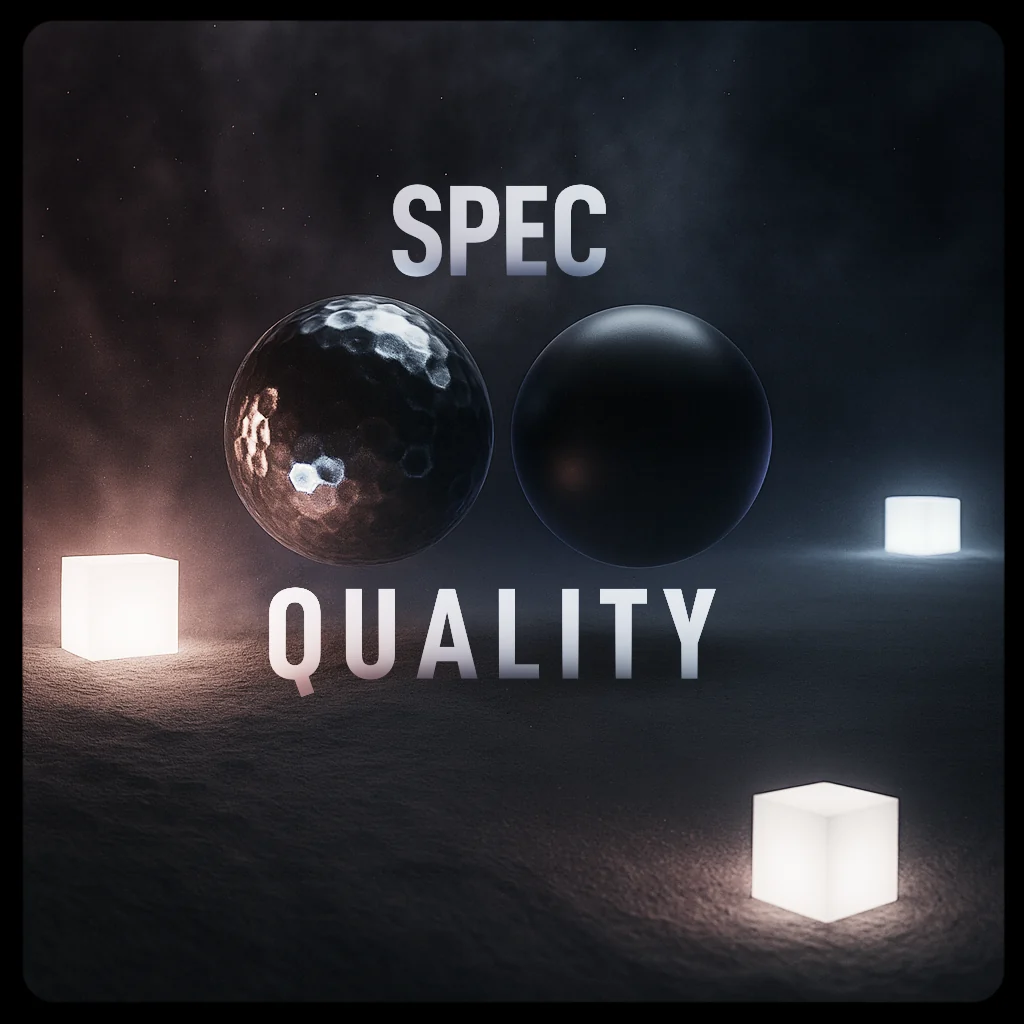
Match the specular sharpness: sharp vs. glossy. Look at how reflections behave on surfaces in the plate (are they blurry, distorted, clear?).
โšก Quick Reads
Are reflections blurry, distorted, or clear? Match that behavior.
Add matching environment reflections on your CG elements.
Some surfaces are a mix of sharp + glossy reflections.
๐Ÿ’ก Pro Integration Tips
Add matching environment reflections on your CG elements. Whilst cg should already be rendered with reflections, sometimes boosting them, or rotoing soft bounce light can help integrate it tighter.

CG Perfection Problem: CG rendered elements are often times too perfect. Use any AOV you have at your disposal to fake detail as necessary.
Add breakup: If CG feels too smooth and simple, add small breakup and specular highlights.
โš  Don't
โœ• Leave CG surfaces too perfect - real surfaces have imperfections.
โœ• Forget to match reflection blur amounts to the plate.
Ambient Light
Section 07

Ambient & Bounce Light

Walls, floors, skies all bounce fill light into shadows. Atmosphere also scatters and bounces light (thicker atmosphere, smog, or misty air scatters and bounces more light).
Bounce Sources
Bounce light will carry the matching ambient hue:
  • Green from grass
  • Blue from sky
  • Red from nearby brick
  • Warm from sand/desert
Atmospheric Scatter
Thicker atmosphere, smog, or misty air scatters and bounces more light, creating more ambient fill.
Even subtle bounced colors help integration massively. The environment always contributes to the lighting.
โœ” Micro-Checklist
Bounce light carries the matching ambient hue
Shadow areas have environmental color influence
Consider atmospheric thickness for scatter amount
Atmosphere & Depth
Section 08

Atmosphere & Depth

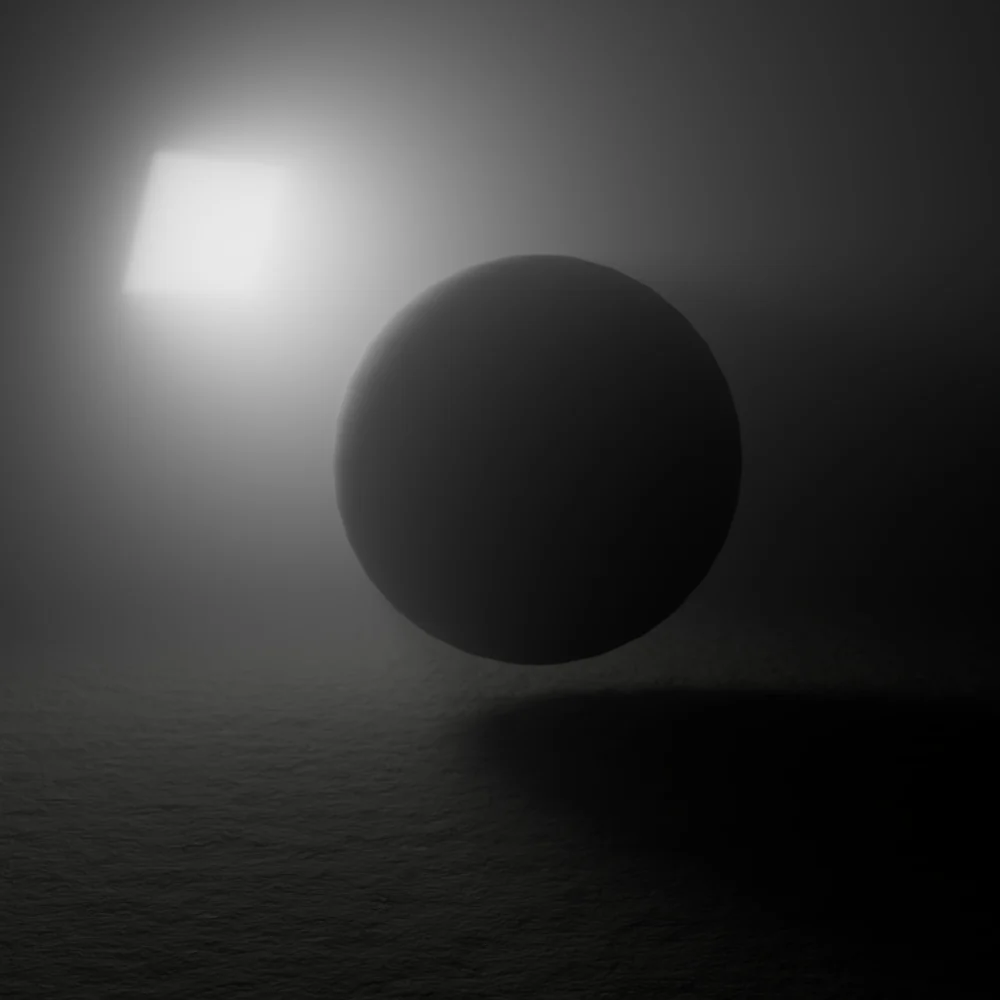
Light scatters in air, fog, or dust. This affects how sharp/diffuse shadows are and how light travels.
Atmospheric perspective: Things get hazier, bluer, less contrast with depth.
Makes comps sit "in the scene": Proper atmosphere integration is crucial for believability.
โš  Note: Atmosphere is not just a "black lift". Contrast (difference between bright and dark) is reduced, and highlights are dampened simultaneously. Easy technique is to multiply the highlights down, then add the atmosphere lift over the top.
๐Ÿ’ก Pro Integration Tips
One easy technique is to first Multiply down the image you want to haze, then lift afterwards. This gives correct contrast flattening effect.
Another way to do this is take a "Constant" (in other words, a solid color, with a half opaque alpha) and merge it over the distant "fogged" object. This does the same effect. The key here is not just lifting, but also bringing down the highlights.
โšก Quick Reads
Multiply highlights down first to reduce contrast properly.
Add atmosphere lift over the top for realistic haze.
Distance = more atmosphere, always progressive with depth.
Believability
Section 09

Believability

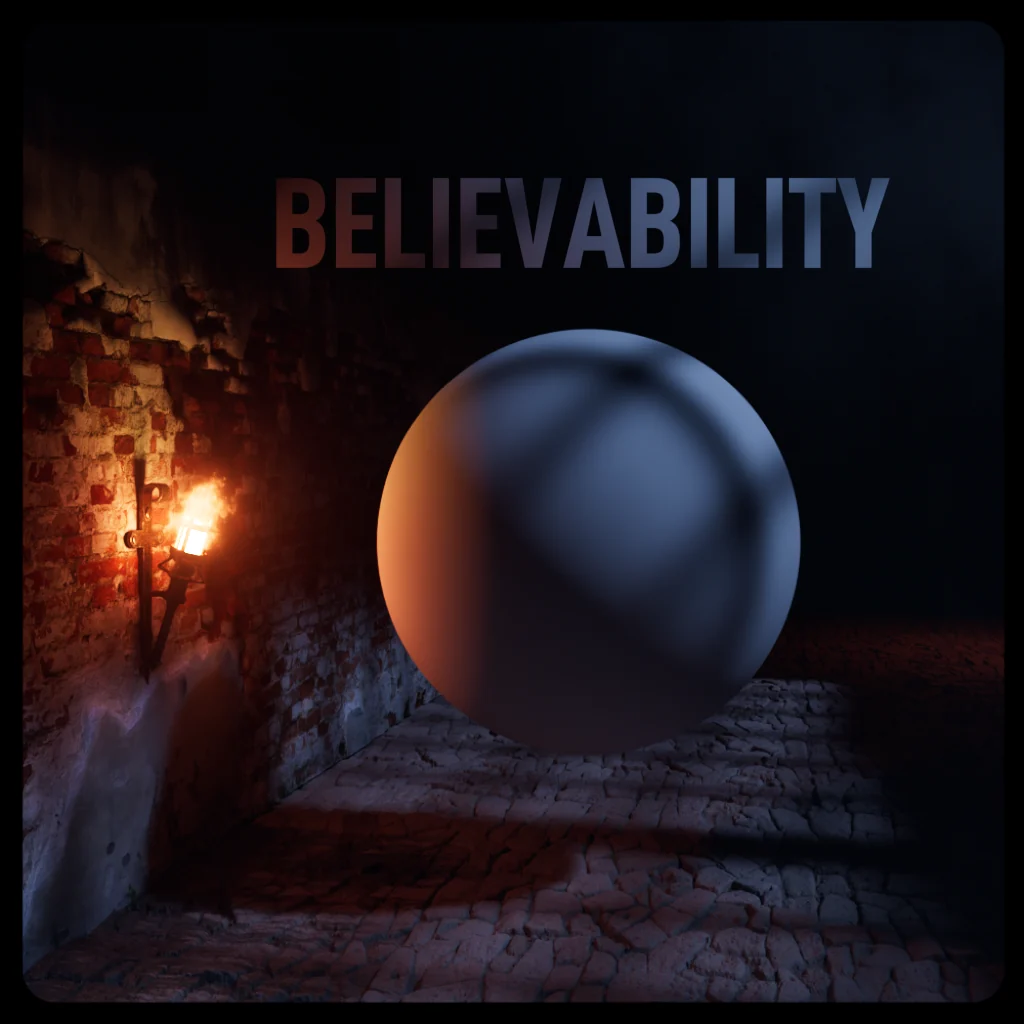
If you have multiple elements from different sources, make sure they share the same light logic. Nothing breaks believability faster than each element looking lit from a different world - or the lighting simply not being believable.
Consider the source: What is the actual light source casting this light? Does it make sense? Is it a flashlight, a sci-fi console, a flickering spark that's splitting apart?
Fire example: Is there fire off screen? What kind of fire is it? Is it a small torch casting flickering quickly with sharp shadows? Or a large fireplace bouncing lots of light in the room with softer ambient light?
Multiple elements: For example, an actor on a CG background - both need to share the same lighting logic and feel integrated.
๐Ÿ’ก Pro Integration Tips
Marry together light direction of composited elements using smoke, haze, particles, or subtle flares
Marry together lighting by making subtle, targeted material adjustments - more specular detail and breakup, more imperfections, or blowing out highlights on shiny materials
Boosting material qualities can help with reading light cohesiveness - they're connected!
๐Ÿง  Thought Experiments
CG Integration: If you're adding a virtual object to a real scene, are there subtle hints of that object existing in the real world? If it's a metal object in rocky terrain, are there scratches from existing in a rugged world?
Organic Creatures: If it's an organic creature in a hot environment, is there specular highlight breakup from sweat or humidity?
Rain Elements: If you're adding rain, do some particles catch reflections occasionally, or is it just flat? Real rain sparkles when it catches light.
Material Context: You might think these are related to material and not lighting, but boosting material qualities can also help with reading light cohesiveness.
โœ” Believability Checklist
All elements share consistent light logic
Light sources make physical sense for the scene
Environment affects materials realistically
Shadow quality matches light size and distance
Material qualities enhance light cohesiveness
โš  Don't
โœ• Mix incompatible light logics in the same scene.
โœ• Forget to ask "What's casting this?" for every light.
โœ• Ignore how environment affects materials and surfaces.
โœ• Leave CG elements too pristine for their environment.
Camera vs Eye
Section 10

Cameras โ‰  Human Eye

The eye can adapt and see detail in both bright skies and dark shadows at once. Cameras can't: they have a limited dynamic range (the number of stops they can hold before highlights clip or blacks crush).
1. Dynamic Range Limitations
Most often, we are aiming for a camera look. This means we should lose detail in either the shadows or highlights in scenes that have bright lights or dark shadows.
2. Highlight Behavior
Real cameras don't preserve all bright detail. Highlights usually roll off (gentle curve into white) or clip (hard cutoff).
  • Window in daylight interior โ€” often totally blown out, not detailed sky
  • CG renders keep all light mathematically by default
  • If you comp that straight in, it looks "HDR unreal"
  • You need to lose detail, not maintain all of it
3. Shadow Behavior
Shadows aren't perfectly visible in cameras. Cameras lose detail in the shadows - noise builds up, shadows fall into solid black.
  • If your CG shows too much shadow detail, it will feel mismatched
  • You need to intentionally lose detail
  • Match the plate's shadow crushing
  • Let blacks be black
โš  Critical: CG renders, by default, keep all light mathematically. If you comp that straight in, it looks "HDR unreal" unless you mimic the same clipping/rolloff. You need to lose detail, not maintain all of it.
โšก Why It Matters in Compositing
If the plate has overexposed highlights, you should let your CG overexpose in the same way.
If the plate's shadows are deep, adjust CG contrast so it doesn't reveal shadow detail the plate doesn't have.
This prevents that uncanny "CG pops out as too detailed and perfect" problem.
โœ” Dynamic Range Checklist
CG highlights expose like the plate
Shadow detail matches camera limitations
Avoid HDR-like perfect detail everywhere
Embrace lost information for photorealism
Match the rolloff or clipping style of the plate. In other words, pay attention to the gradient in the bright regions.
CG Integration Workshop

The CG Integration Workshop That Transforms Your Reel

Instead of waiting YEARS for the right projects and experience, you can finish 8 high-end comps this week, including a feature-film dragon on real Iceland footage.

Learn true CG integration so your work feels like it was filmed on set. Each shot teaches you the exact workflows supervisors expect, so when you upgrade your reel, it isn't just filled with practice shots, it's studio-ready.

Start Building Your Portfolio โ†’